How To Repair Speakers: The Ultimate Guide
Is your speaker producing bad sounds? Bad sounds mean buzzing or cracking. A speaker is one of the essential pieces of equipment while you are in your car or at home and listening to your favourite songs. You notice that your speaker has been damaged so definitely you will find the remedies to repair it.
In this article, I will discuss how to fix a speaker with no sound or how to repair speakers at home.
First, you have to know about how the speaker works.
How Does The Speaker Work?

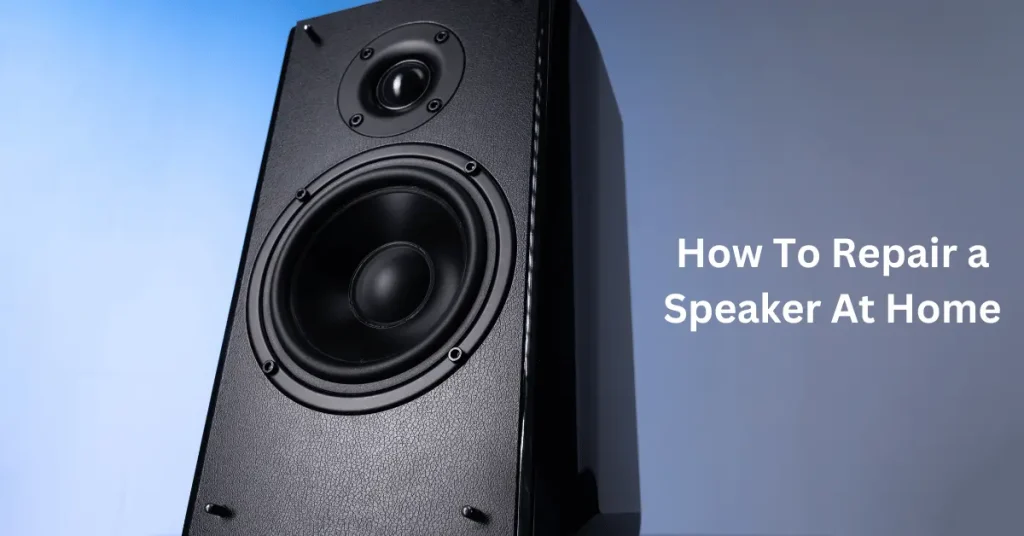
Your speakers are the source of entertainment. A chip of amplifier inside the speakers is used to amplify the sound generate by various components of the speaker system. A speaker is a collection of many parts, such as a speaker case 6 to 15 inches in diameter. There is a cone woofer for low frequencies and a dome which is 3 to 6 inches in diameter. A small-sized Twitter is present for the high frequencies. In speakers, you listen to the sounds; these sounds are audio signals. The audio signals travel through suitable frequency ranges.
Identify Your Speaker’s Problem
If your speaker is not producing any sound, check all the components for the electrical connection, fuse and replace some parts if needed
- If the sound is not coming out from all the drivers, check the fuse
- If the sound is cracking or mushy, put the volume down and flex the cable with the hand
- Check out the voice coil if your speaker is producing a noisy sound.
- If the sound is not continuous, check the cable for proper connections
How to Repair a Speakers at Home?
Follow the steps to repair speaker at home.
The Problematic Driver
If you want to fix the speaker with no sound, check the driver first. There is a high chance that the driver has been damaged.
Before starting to repair, you must know if the driver is damage. And needs to be replaced.
Remove the front cover of the speaker and check the driver.
For the testing of the speaker, play some music. Playing music is an ideal technique because you can check the simultaneous frequency. This will allow you to pinpoint the damaged driver steadily. It depends on which kind of driver you are checking, so you must adjust your EQ (equalizer) according to the driver, such as:
Mid-range (Driver): you have to increase the mid-setting of the system
Tweeter (driver): you have to treble the settings of the system
Woofer (driver): increase the bass setting of the system.
Ultimately, you have to run all the drivers and all of them individually. Put the volume high while testing and notice whether the speaker is buzzing or cracking with the help of testing. At the end of the test, determine if the driver has to be replaced or not?
Unscrew The Older Driver
Unplug all the wires that come in and out of the speaker, and make sure no power source is connect to the speaker. Unscrew the screws that hold the driver in the speaker box and keep it properly, and don’t let the driver fall onto the ground.
Detach The Older Driver
Hold the driver correctly, and connect both the wires (red and black) to the backside. The red and black wire will be joined in the new drivers and speakers through a detachable clip. If you are using an older speaker, you must do soldering of both wires onto the driver. For soldering, you must remove all the previous cables and replace them with a new clipper.
Now again, detach the wires from the old driver. Completely free the driver from the speaker. On the rear side of the driver, there is a large size magnet.
Now, grab a measuring tape and measure the diameter of the driver. The physical replacement process of the longer can be done within 30 to 40 minutes. Selecting the perfect driver is very crucial.
If you want to avoid putting in a new driver and are replacing a damaged or blown driver, grab a replacement driver from the manufacturing company, visit the company website and order your driver. But you have to keep in mind that you know the model and size of the driver.
So, you have to replace the driver, put on all the screws and close the front cover.
Test the Speaker
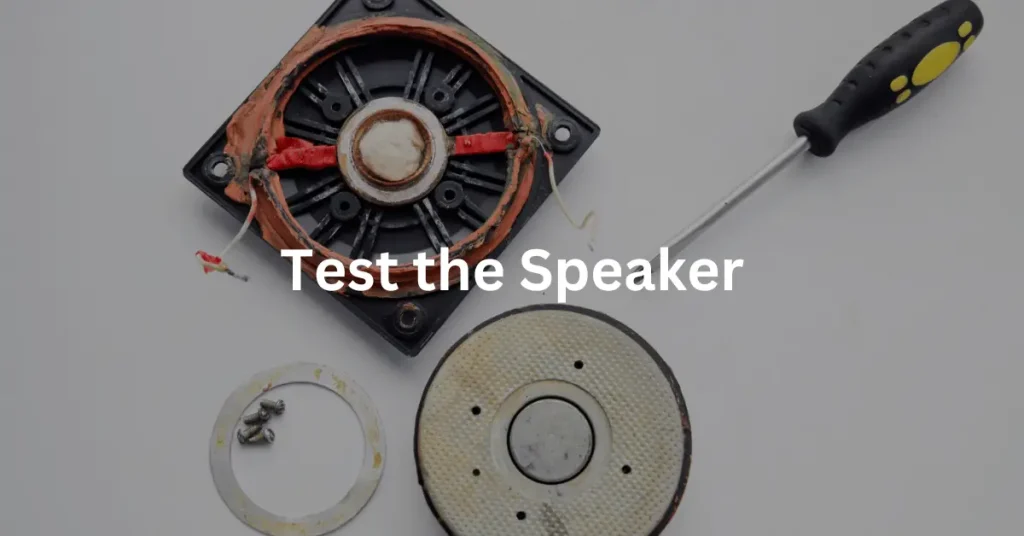
Now test the speaker by using a multi-meter set it to read resistance. It may have an ohms symbol for this setting. After this, place the leads of the multimeter on the speaker terminals. You can touch the positive and negative leads to either terminal when reading resistance. Now play the speaker and notice if a pop, buzy or cracking sound comes out from the speaker. If all these bad sounds are not coming, play your favourite songs and enjoy.
Conclusion
Your speaker helps you to enjoy your leisure time. But it feels disgusting when it doesn’t give you the better output sound. The repair of your sound system requires some necessary equipment. The driver is a core part of the speaker. You have to identify the problem. If your driver produces busy or cracking sounds, the speaker’s driver may become damaged. The older driver has more chance of damage. You have to identify the problem with the driver. Unscrew the older driver, then detach it. Ultimately, you must test the speaker to check that all the repairs have been done correctly. I have discussed all of the procedures and techniques to fix the speaker with no sound.
FAQs
Adhesives like ostik and Huntsman Araldite, once used alongside screws, can: Dampen vibrations and stop the components within the speaker from coming loose with the speaker vibrations.
Thermal speaker failure occurs when a speaker is subject to excessive power like volume or added bass, causing sensitive interior components to melt or burn. Accidental or thoughtless use of an audio system outside the safety margins is the most common cause of mechanical and thermal failures.
Your speaker is design to sound best when they’re level with your ears, so position them accordingly, leaving space between the wall and speaker to improve mid and bass performance. If you don’t have room for stands, put your speakers on a foam layer to isolate your music from floor vibration.

